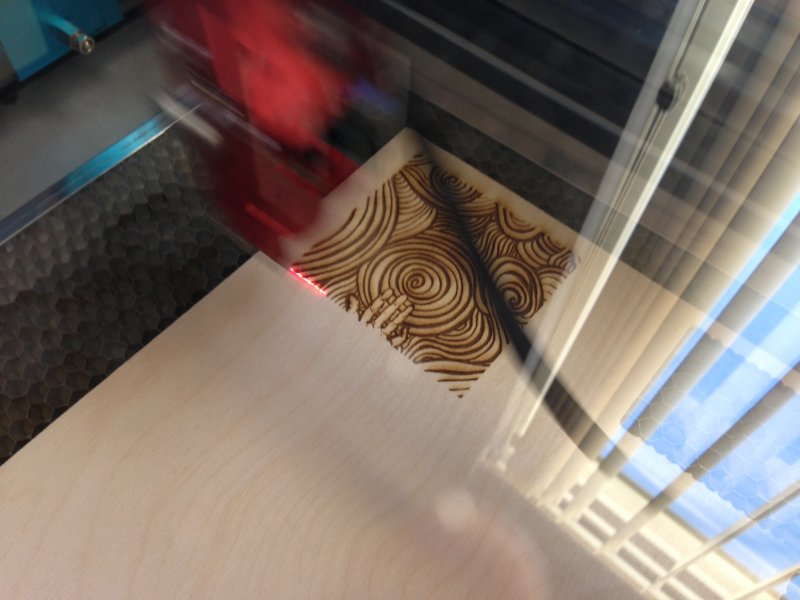
My friend Hannah drew this a few days back and I asked if I could have a photo of it to play with on the laser. She sent the first image. I figured I could have some fun with depth on the engraving, so I brought it into Photoshop, and did some manipulating and painted in some grayscale corresponding to the depth of engraving I wanted. I then brought that jpg into RetinaEngrave and setup 5 passes in the 3D Engrave tab by changing the thresholds to match that of the gray of the layer I wanted, set a different power and speed for each frame, and printed away. It took about 40 minutes to do the 5 passes on the 3" x 4.14" piece... though I realized some ways to optimize this when I run it again. The thresholds in RetinaEngrave aren't very precise so it ended up having a lot of stray pixels on each frame, causing it to do tons of unnecessary passes. Next time I'll just do the separations in photoshop and do each frame in the Engrave tab. Mental note to also expand the borders of each of the layers a bit so that there is overlap because the two deeper layers left ridges as they didn't go to the edge by a pixel or so. Regardless, pretty happy with how it came out. It needs a bit of sanding cleanup as I didn't mask it so the high points got slightly charred, but I'm excited to do more of this stuff... lots of ideas.


Software Side Note
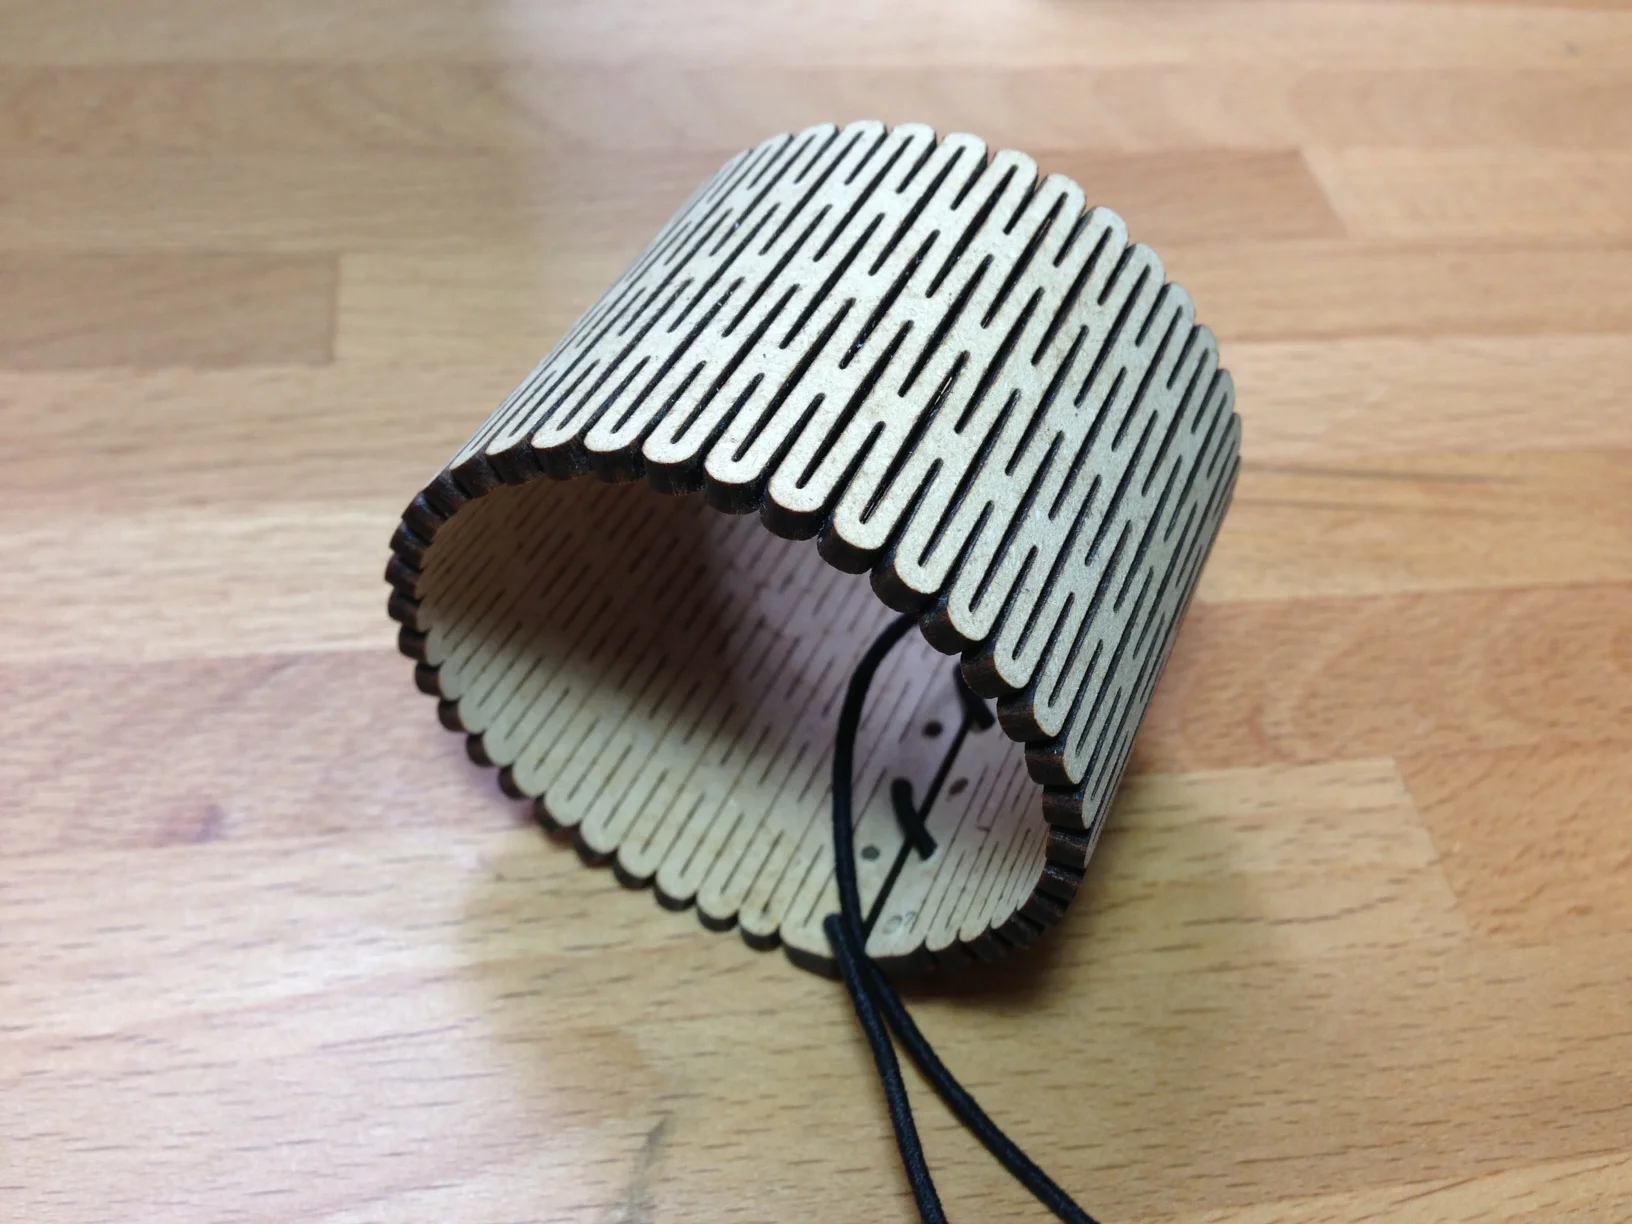
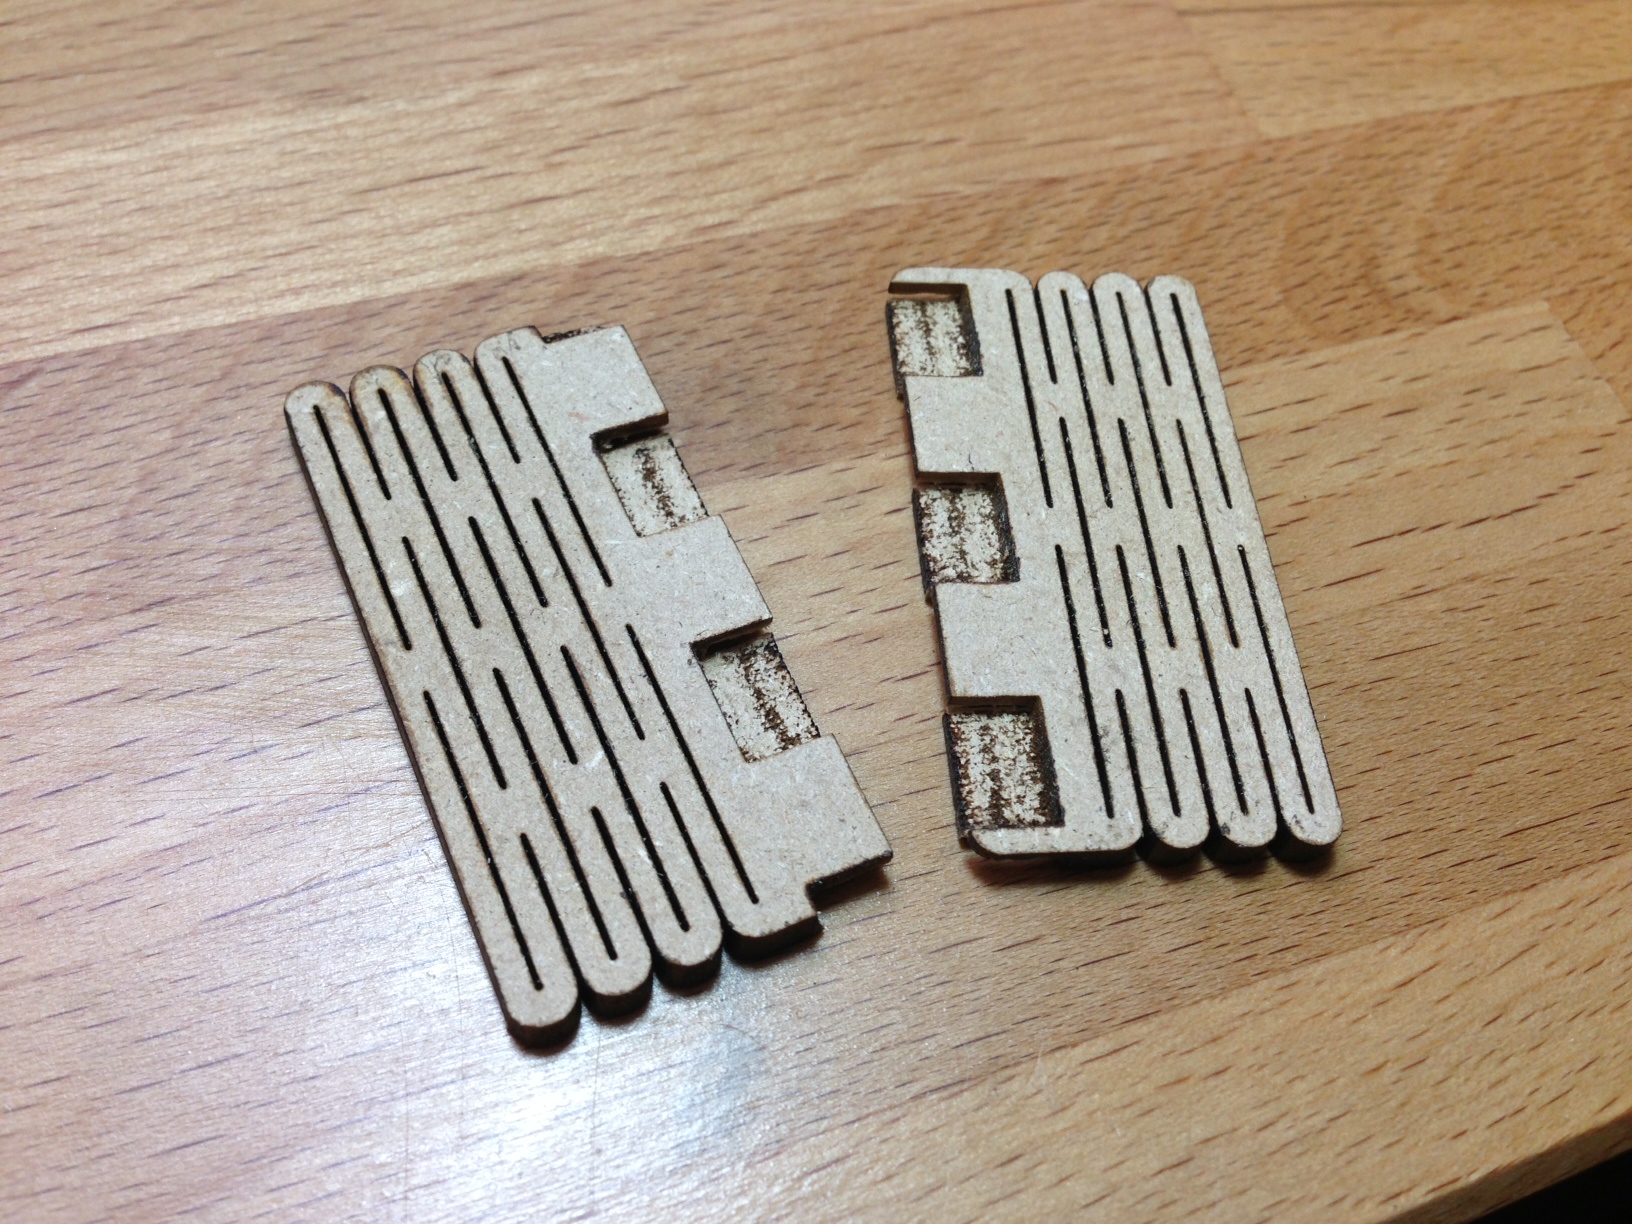
I love the manual entry controls for Relative Location and the ability to quickly design vectors in RetinaEngrave itself. This allowed me to quickly cut the border and then cut the frame with precision as I'd forgotten to add vectors for it in Photoshop. Once the laser is homed, as long as your piece isn't moved on the bed, you can do all kinds of relative work from the starting position. Very nice. Overall... the software is growing on me. It's leaps better than I was expecting for sure.